How to make ice cream with the Ninja blender?
Would you like to know how to make ice cream with the Ninja Blender? You should get ready as we discuss some of the best ways of making mouthwatering ice cream with the Ninja Blender. The Ninja Blender allows you to make ice cream effortlessly to achieve your favorite scoop creations. This guide will help you with a step-by-step process, while at the same time-sharing tips and tricks to create irresistible recipes.
The Ninja blender is a versatile kitchen that has the capability to create smoothies, soups and even crush ice with minimal effort. Apart from this, the Ninja blender will also allow you to create homemade ice cream with ease. The Ninja blender is equipped with a powerful motor and also with an elegant design. With the Ninja blender, you will be able to create an easy, efficient and satisfying homemade ice creams.
Related Article: Can Nutribullet grind Coffee?
Ingredients and Equipment
Creating ice cream using a Ninja blender you will need ingredients that will allow you to achieve a smooth and creamy texture. The following is a list of the ingredients:
- Base Ingredients – These ingredients are heavy cream, sugar and whole milk. Their proportion will vary depending on your preferences.
- Flavoring – Flouring are substances that will enhance the sweetness or flavor of your ice cream. They include fresh fruits, vanilla, nuts, chocolate and more.
- Mix-ins – Mix-ins on the other hand have the ability to elevate the ice cream experience. They include crushed cookies, caramel swirls and more.
Equipment
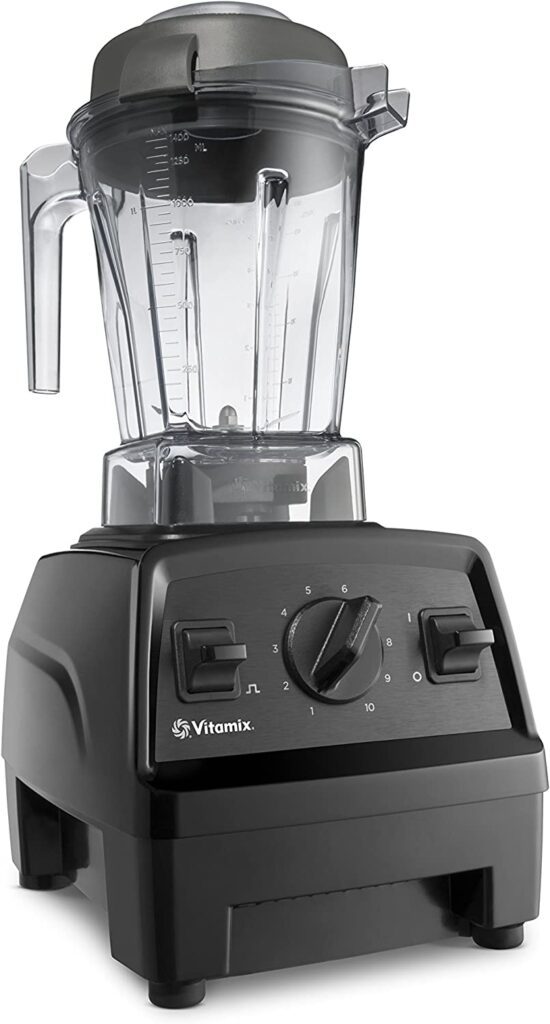
- Ninja Blender – Ensure that you use a Ninja blender that has a powerful motor and also has a pitcher material that favors the blending of ice as well as frozen ingredients. The blender should have a strong and sturdy base that has the capability to make ice cream.
- Spatula – A spatula is also an important to that is used to scrape the sides of the pitcher and also ensure the ingredients mix perfectly.
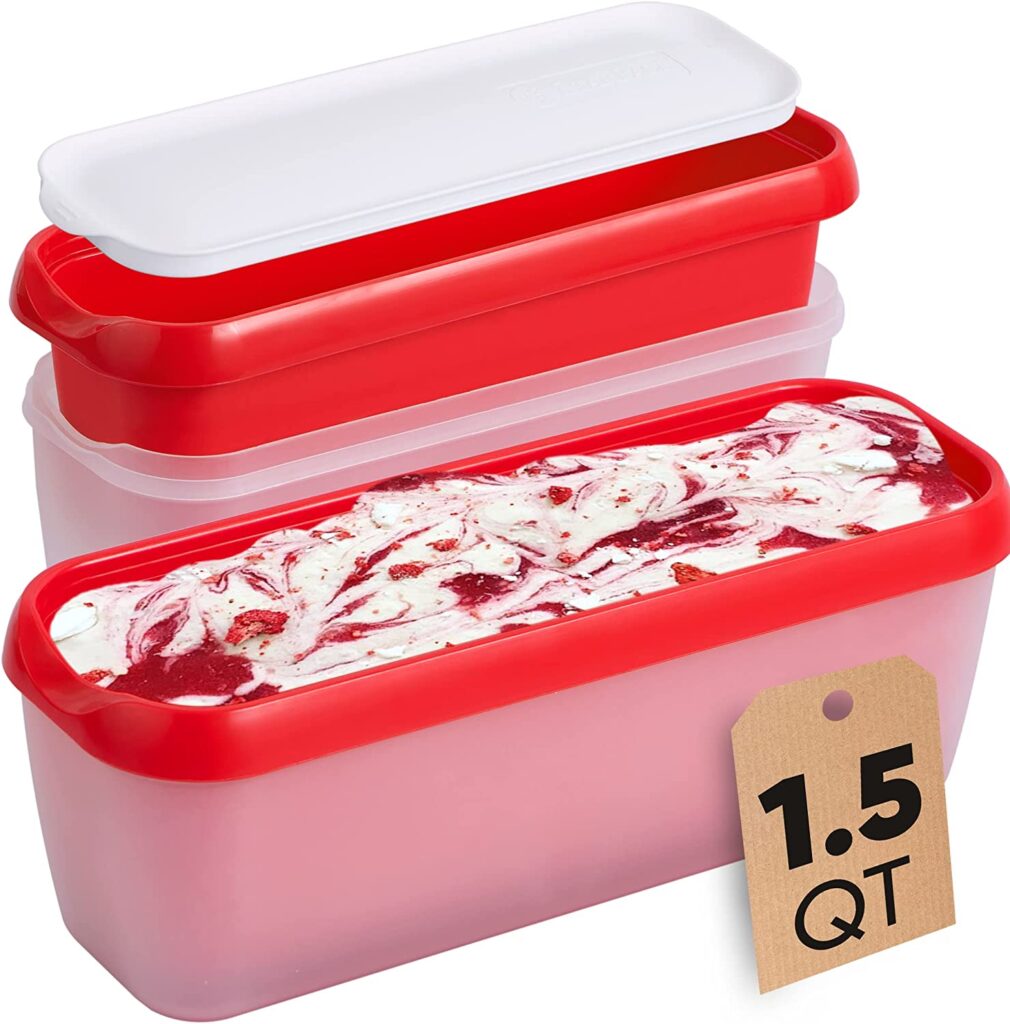
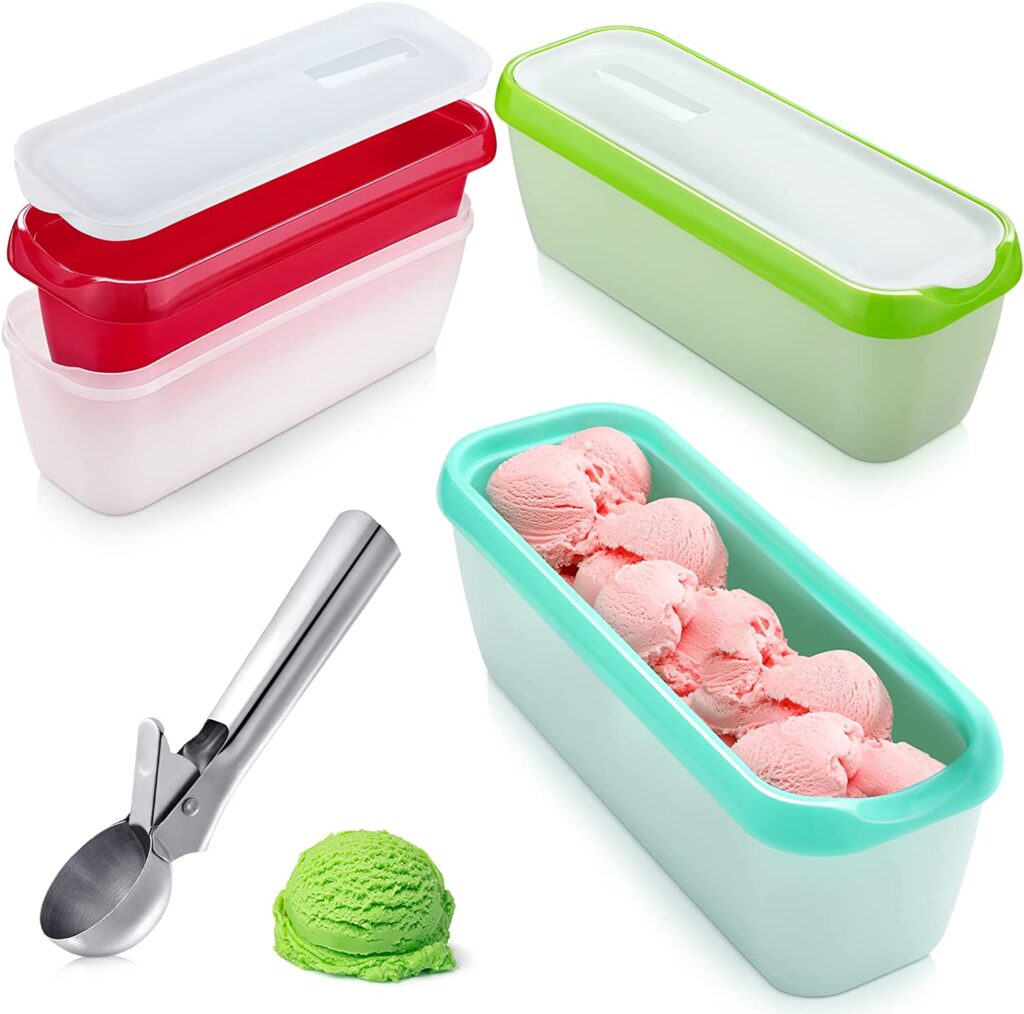
- Freezer-safe container – Once you are done blending, you will require an airtight tub or container to store ice in the freezer. You will have to confirm the tub is freezer safe and is the right size to handle the quantity of ice cream you make.
- Measuring tool – To achieve consistency and the right flavor, you will need measuring tools that will prevent guesswork operation. You can use cups, spoons and even a scale to measure precise ingredients.
- Optional – Other equipment you can use include ice cream scoop, ice cream cones, decorating tops and more.
Step-by-step instructions for blending the ice cream
- Step 1 – The first step is to prepare and also gather the ingredients that you would like to use in making the ice cream. This includes the base ingredients (heavy cream, milk and sugar), flavorings (vanilla, cocoa powder and more) and mix-ins (chocolate chips and more. Before you start the operations ensure to measure this ingredient well.
- Step 2 – This step is for pre-frozen ingredients. This allows the ingredients to settle before they are blended so that you are able to achieve a smooth and consistent ice cream.
- Step 3 –This step involves assembling the blender by carefully placing the pitcher in its place. Before you place the pitcher ensure it is clean and dry.
- Step 4 – This step is for adding ingredients into the blender pitcher. Here you can add both base ingredients, flavorings and also mix-ins.
- Step 5 – Secure the lid properly to the pitcher by ensuring it’s tight. This helps in preventing spills or leaks during the blending process.
- Step 6 – When blending, start with a low-speed setting and gradually increase the speed to blend effectively. Pausing and scraping the pitcher sides will highly depend on the recipe you are preparing. Scraping the sides will require the use of a spatula which ensures that all the ingredients are incorporated evenly.
- Step 7 – Carry out the blending process until you achieve a smooth and creamy texture. The time to blend will depend highly on the recipe you are carrying out as well as the power of the blender. Avoid over-blending because it can generate heat and lead to melting.
- Step 8 – This step is great for mix-ins like chocolate chips and more. Pause the blending process and add the mix-ins. After putting it in the pitcher, blend it for a short time.
- Step 9 – Once you are done and satisfied with the texture, transfer the blend into a freezer-safe container. Once you complete pouring secure the container with a lid to ensure the mixture does not experience freeze burn.
- Step 10 – The final step is to put the container into the freezer and let the ice cream stay there for several hours or even a night. The freezing time will highly depend on the type of recipe and also your preferred preference. It is also important to check regularly and stir the ice cream so that you are able to prevent ice crystals from being formed.
Related Article: Can you grind cinnamon sticks in a blender?
Pros of using Ninja Blender
The blender is powerful.
- Its versatility allows it to carry a wide range of blending operations.
- Most Ninja Blenders are equipped with large pitchers that are suitable for large batch operations.
- They are also fast and efficient.
- The blenders are also easy to clean.
- The blender gives you full control over your blending operations.
- They are also cost-effective.
Cons
- Some Ninja Blenders can be quite noisy during operations.
- The blades may wear out if you constantly blend ice and frozen ingredients.
Tips for achieving the desired consistency and texture
- Chill the ingredients – It is important to let the ingredients chill well before carrying out the blending operation. Using cold ingredients promotes a smooth texture and also prevents the fast melting of ingredients.
- Gradual blending- Gradual blending allows you to achieve a smooth and well combined ingredients . Start low speed and increase gradually. Starting with high speeds will deliver thin and less creamy textures. Gradual blending prevents the generation of heat.
- Pause and Scrape – During the blending operation, pause regularly and scrape down the sides so that ingredients are mixed evenly.
- Avoid over-lending – It is important to be cautious not to over-blend the ice cream mixture because it can lead to the generation of heat or even melt the consistency texture. Over-blending leads to the incorporation of excess air that makes a denser ice cream.
- Optimal freezing duration – After the blending operation, ensure that you put the ice cream in a freezer-safe container and let it free freeze for hours and even a night.
- Stir During Freezing – Stirring is very essential because it will prevent the formation of ice crystals thereby enhancing a smoother texture. This can be done every 30 mins to 1 hour.
- Store properly – Once the ice cream is well frozen, store it in an airtight freezer container. This will prevent the freezer burn as well as maintain its optimal textures.
- Proper emulsification
- Free immediately after blending.
- Use shallow containers
- Store in containers that have wrap barriers.
- Avoid temperature fluctuations.
Related Article: Which is the quietest Ninja Blender?
Conclusion
We can conclude by saying that the Ninja Blender is a powerful, versatile and easy-to-use blender that will enable you to easily create creamy and also delicious ice cream. The steps above will help you create ice cream using the Ninja blender. Whether you are a beginner or an experienced ice cream maker, the Ninja blender will be the most convenient and effective way to create ice cream.